
In continuation with the learning of Microsoft Word 2016 in the previous part, now we will get to know about the Backstage View in MS Word 2016. Backstage view is used to create new Word documents, open existing documents, saving, printing, sharing etc.
Start With Backstage View
Now, we are starting with the Backstage View in MS Word 2016. In our Part-1 we learned how to enter MS Word docs in backstage view. However, if you have missed Part -1, we will discuss it further in this tutorial.
-
Create a blank document
To create new document, we need to start with blank document. To enter the backstage view, follow the steps below:
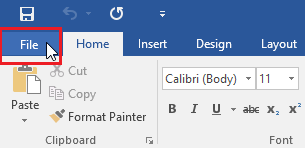
- Click on the File tab located in the upper left corner of the Ribbon to access the Backstage view.

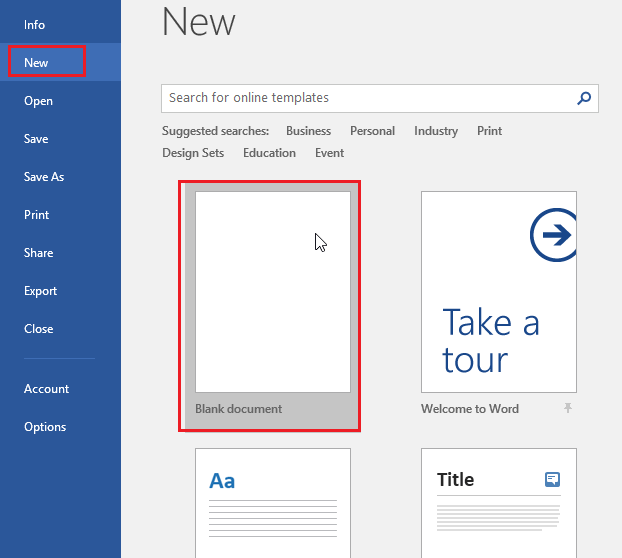
- Now tap on New option and then click Blank document.
- A new blank document will create.
-
Create a Resume from a template
Templates are used to create a predefined document such as Resume, Report, Letters, etc. in a quick manner. Template saves our lot of time when we create such documents. To create a Resume from a template, follow the steps below.
- Click on the File tab located in the upper left corner of the Ribbon to access Backstage view.
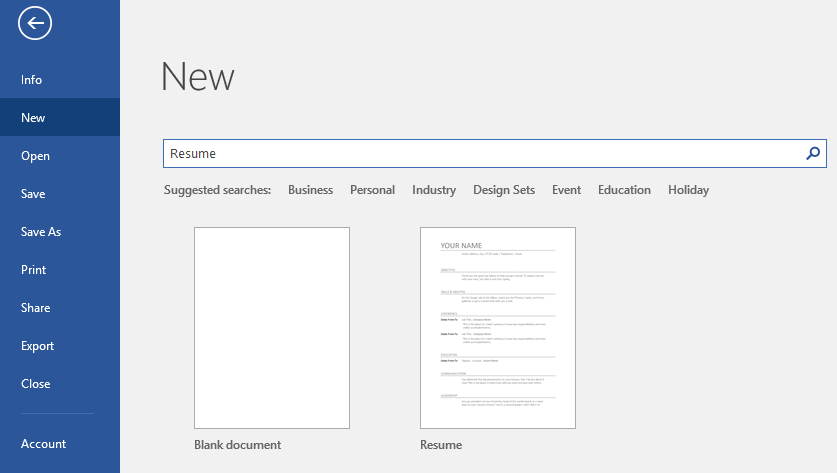
- Now tap on New option and here you will see many predefined templates.
- Now, search for the Resume in the search bar.
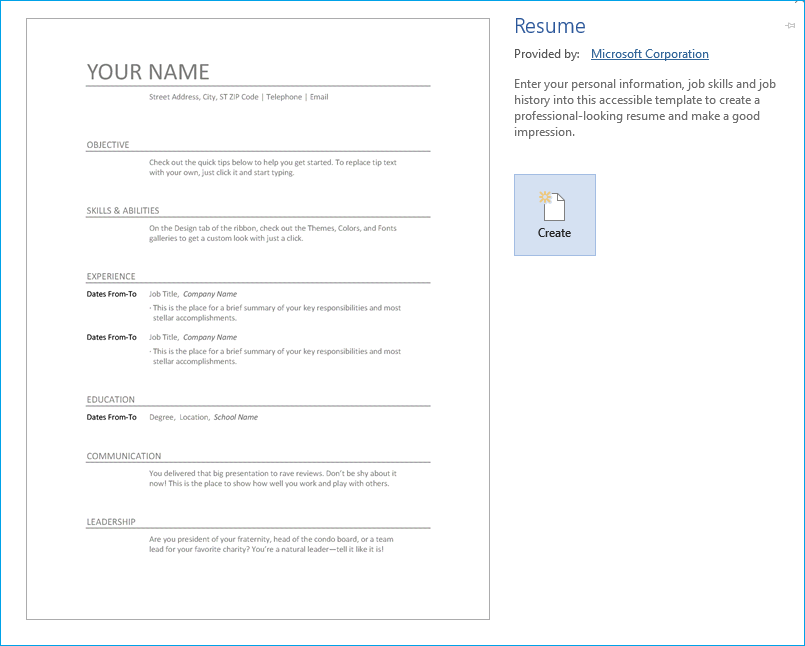
- Once you find Resume format you wish, choose a Resume template to preview it.
- A preview of the Resume template will appear. Click on Create option located in the right pane.
- A new document will create with the selected Resume template.
-
Open an existing Document
If you wish to open your previously saved document, you just need to enter backstage view. Click on Open option. Here, selects the option like This PC or you can click on Browse option to get the existing document. From there, you can open the document. You can also open the document if it is stored on Microsoft OneDrive. But make sure, you are signed in on Microsoft Account.
-
Pin Recent Document
If you wish to edit the same document you have previously edited. Then you have the option to Pin it. To pin any recent document. Just enter backstage view, click on Open, then tap on Recent. In the right pane, you will see the list of the previously edited document. Just hover the mouse over the edited document you wish to pin. Then tap on the pushpin icon. If you wish to unpin it later, you can click on the same pushpin icon again.

-
Compatibility Mode
If you open a Word document that was created in an older version of MS Word such as 2007 or 2010. Then this document will open in Compatibility Mode. In MS Word 2016, it deactivates some features of an earlier version of documents. So, in Compatibility Mode, you can only access the command which was used in that earlier version. If you wish to change the mode to the current version to use the features of Word 2016, you need to convert that document to the current version. To convert it you just need to enter the backstage view of the document and click on the convert button. Now it will ask you to upgrade the file type.
Note: Conversion of the document may change the layout of original document.
-
Save and Save As Feature
MS Word offers three ways to save a file: Save, Save As and Ctrl+S.
Save: If you are working on a document which is opened and name of the document and location is already defined, then to save that document you just need to press Ctrl+S or you can simply click on Save button on Backstage view.
Save As: If you wish to save the copy of that document, then you can click on Save As button to define a different name and location to save the copy of the document.
-
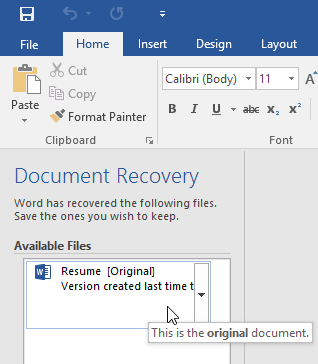
AutoRecover Feature
Autorecover feature helps you to recover the file, in case you forgot to save the document or Word file crashed.
-
Print Feature
This feature is used to print the document. To use the feature, you can choose the copies you wish to print. You need to select the printer type and some other Settings are there as per your requirement.
-
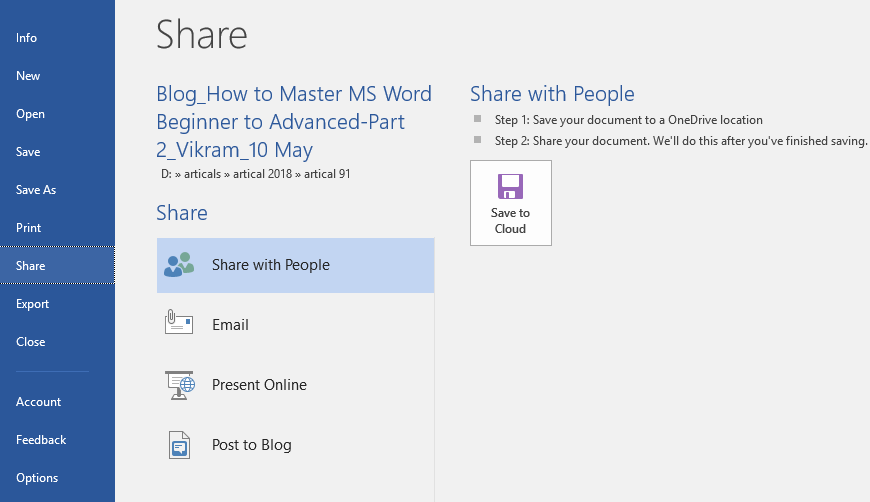
Share Feature
If you wish to share the file you have created, you can use this feature to share it. You just need to tap on Share button, here you will see the different ways to share the document like Share with People, Email, Present Online, Post to Blog.
-
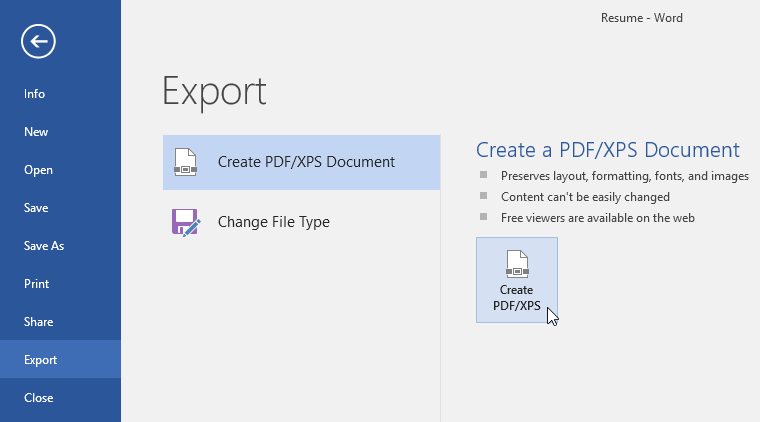
Export Feature
Export feature is used to change the file type. If you wish to change the file type in .PDF or Word 97-2003 document then feature will help you. This feature provides a variety of file types. If you wish to export the document in pdf, you need to enter the backstage view of the file, then tap on Export->Create PDF/XPS Document. From the right pane tap on create button. However, if you wish to save the file in a different format, you can click on change file type and then you can save the document as per the file type you require.
-
Close Feature
It is used to close the opened document.
-
Info Feature
This feature displays the information of the opened document. In the right pane, it shows some other features like Protect Document, Inspects Document, and Manage Document.
Some other features are available like Accounts, Feedback, and Option. Account helps to see the information of the account you have logged in. From the feedback you can send the feedback to Microsoft and Options let you enter the various options to customize your document.
That’s all! Now you have learned about the Backstage View in MS Word 2016. Do check out part 3 to learn more about Microsoft Word 2016.