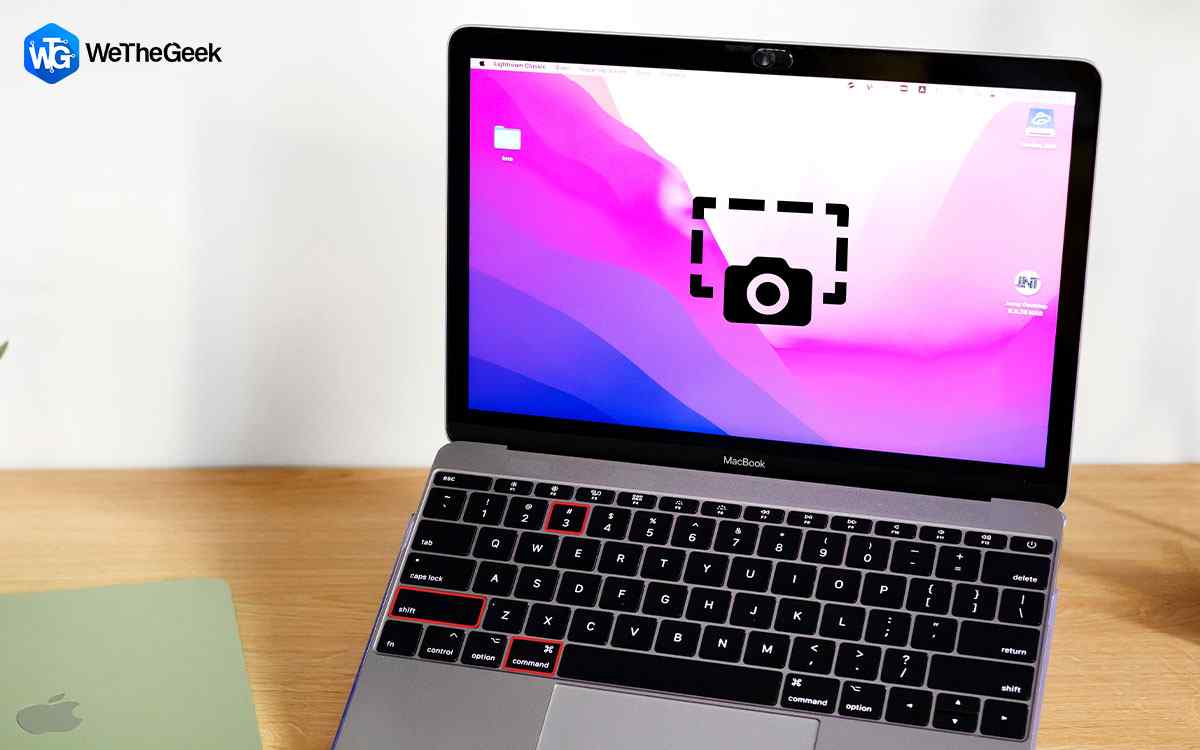
Mac is known, talked and preferred for several of its good features and functionalities. Yet you might miss ‘Print Screen’ button on its keyboard (which is a bypass for screenshots). Nevertheless, Apple has enabled some other keys on its keyboard to carry out the task.
There are a variety of methods (and keyboard shortcuts) to take different kinds of screenshots on Mac. Using various keys, you can capture an entire screen or even a part of it. Here is the know-how to take screenshots on your Mac.
Top 5 Ways To Take A Screenshot On Mac
Method 1
If you want to take screenshot of the entire screen, follow these steps
- Press Command+Shift+3 keys.
- Screenshot will be automatically saved on your desktop.
- Now find the .png file on your desktop.
Method 2
Unlike capturing entire screen, you can capture a part of it. Follow these steps to take screenshot of part of your screen.
- Press Command+Shift+4 keys.
- This command will bring up the cross hair.
- Now select the area of which you want to take screenshot.
- Release the mouse or trackpad button.
- If you want to cancel it, press Escape (esc) key before releasing mouse.
- Find the screenshot on your desktop in .png file format
Method 3
If there is a particular Window that you want to capture, Apple has a hack for that as well.
- Press Command+Shift+4 keys.
- This command will bring up the cross hair.
- Now press space bar. This will change cross hair into camera pointer.
- Move the camera pointer to the Window you want to capture.
- After this, click your mouse or trackpad take screenshot.
- If you want to cancel the command, press Escape (esc) key before releasing mouse.
- Find the screenshot on your desktop in .png file format.
Method 4

If there is one particular menu on your Mac that you want to capture, follow these steps.
- Open any menu on your Mac. For example- Finder menu.
- Press Command+Shift+4 keys.
- This command will bring up the cross hair.
- Now drag and select the menu.
- Release your mouse or trackpad to take screenshot.
- If you want to cancel the command, press Escape (esc) key before releasing mouse.
- Find the screenshot on your desktop in .png file format.
Method 5

Alright, you might not want to remember all these shortcut keys. Here is another app on your Mac that helps you take screenshots without any hassle. Here you go.
- Open Applications folder.
- Now open utilities folder.
- Find Grab app and launch it.
- Grab won’t have a dedicated window, rather it’ll work almost entirely from the menubar.
- Click on ‘Capture’ tab
- Now select an option out of the given ones, to take the screenshot.
Grab helps you take screenshot of screen, individual window and even a part of the screen. You should select any of the options accordingly.
These are 5 ways to take screenshot on your Mac. Try these out and let us know of any other hack that you would like us to present to you.