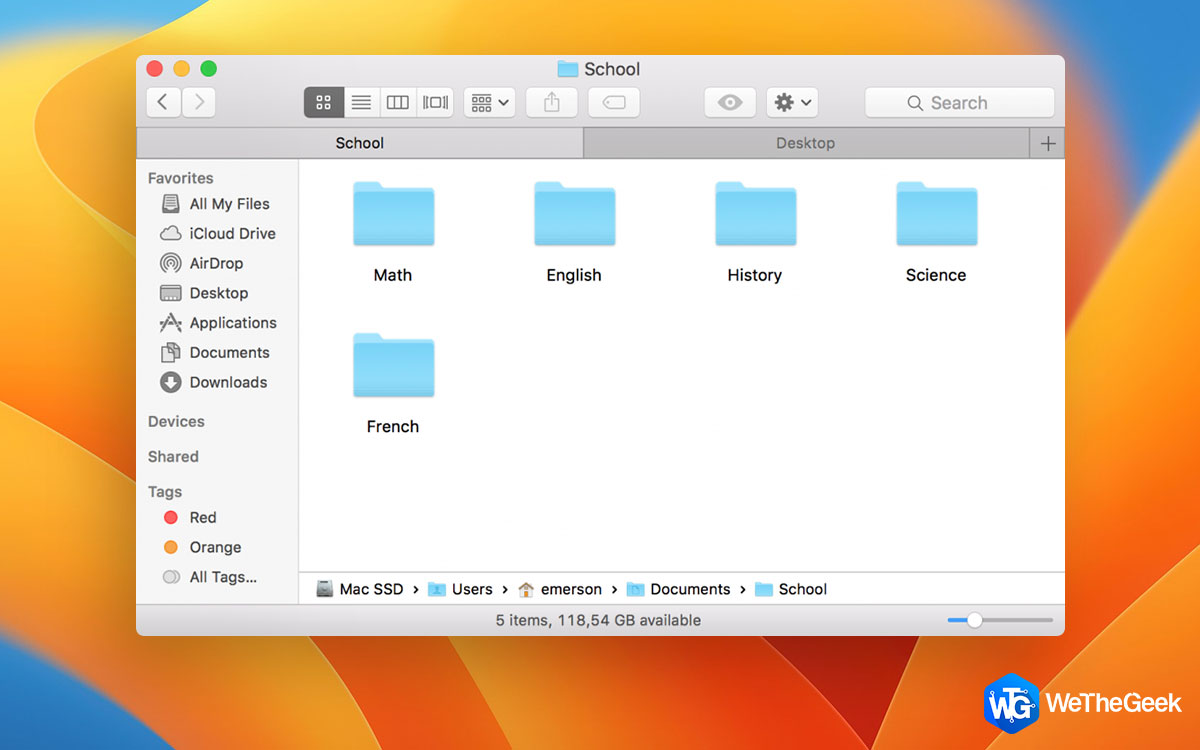
Tags as we all know, help us stay more organized and are a powerful way to manage files and folders. In macOS you can add tags to your file and folder, whether they’re saved on your Mac or uploaded on iCloud. Tags allow to assign a color code to each tag for better management and identification. They are like Gmail labels and add context to the data by taking files and folders organization one step further. With tags you can easily manage a lot of work like:
- Easily sort work that you wish to edit later
- Easy access of important data
- Save article, blog posts that you would like to read in free time
- Tax receipts, receipts that you would need while filing tax or calculating expenses
The coolest thing about tags is, you can add tags to different file types and put them under one umbrella. Plus, you can use multiple tags to classify files and narrow down your searches. But tags color is limited to seven.
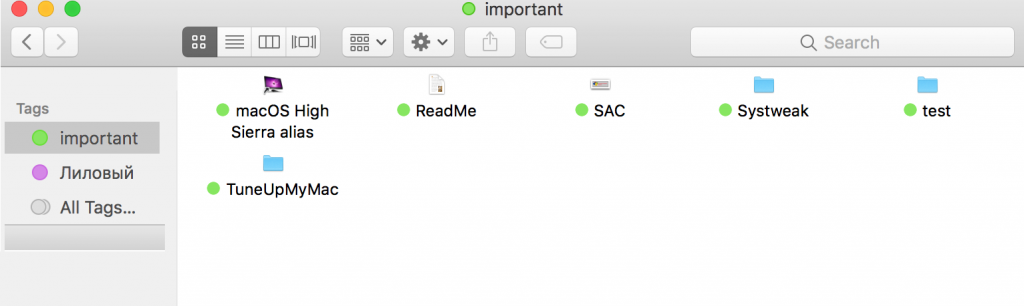
Note: You can add multiple tags to any file.
How to Create, Edit, and Delete Tags in Finder
There are multiple ways of creating tag.
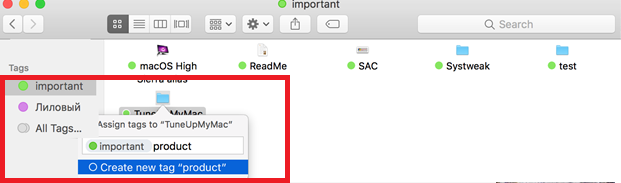
Tagging from the Context Menu
To tag a file from context menu follow the steps below:
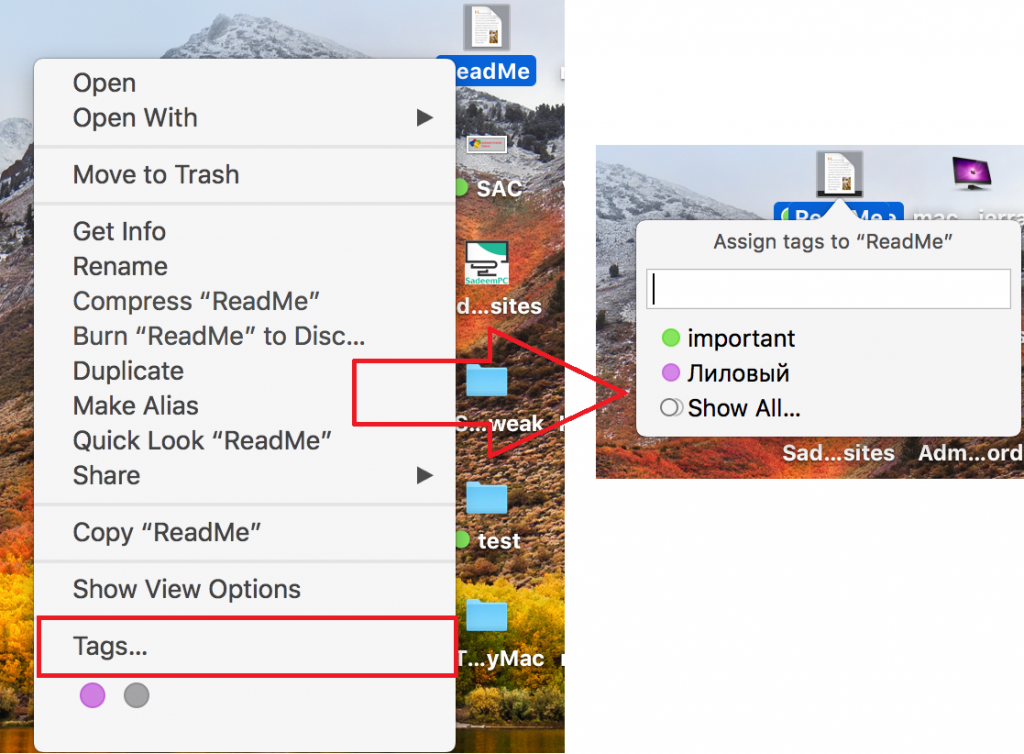
- Select the file and right-click on it.
- From the context menu select Tags.
- This will open a small box with text field here enter the name of the tag.
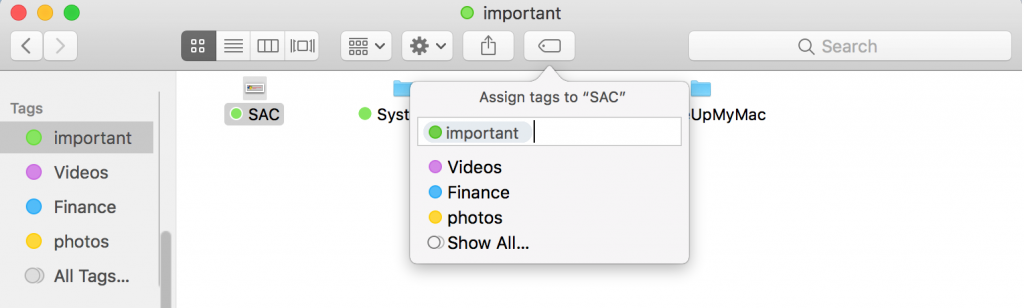
Assigning More than one Tag
In macOS you can assign multiple tags to a single file/folder. To do so follow the steps below:
- Select the file and right-click on it.
- From the context menu select Tags.
- This will open a small box with the previous tag already entered.
- Here, enter the second tag you wish to add to file/folder.
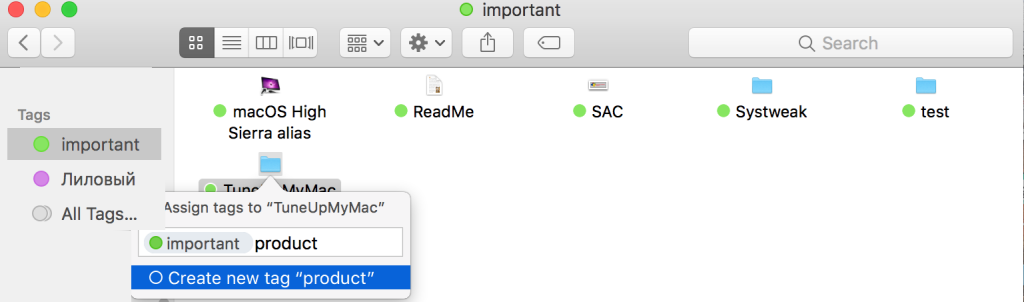
Note: If you want to assign an existing tag pick from the list that appears below to the tag field. Also, the list is mirror image of tags you see in the side bar.
Un-assigning a Tag
Let’s say after tagging a file/folder you decided to remove it as it was added mistakenly then what? Follow these simple steps:
- Select the file and right-click on it.
- From the context menu select Tags.
- In the text field that appears, hit the delete key. The tag will no longer be added to that file/folder.
Tagging from the Toolbar
Instead of going through the long process of tagging from context menu you can call it via the Edit Tags toolbar button. To do so follow the steps below:
- Select the file you want to tag.
- A “tag box” will appear near the toolbar button.
Use it to tag the selected file.
However, if you are unable to see the Edit Tags button, it’s seems it is hidden.
To bring it back, follow the steps below:
- Right-click anywhere on the toolbar.
- Next, choose the Customize Toolbar option from the menu.
- Now drag the Edit Tags button from this set to the toolbar.
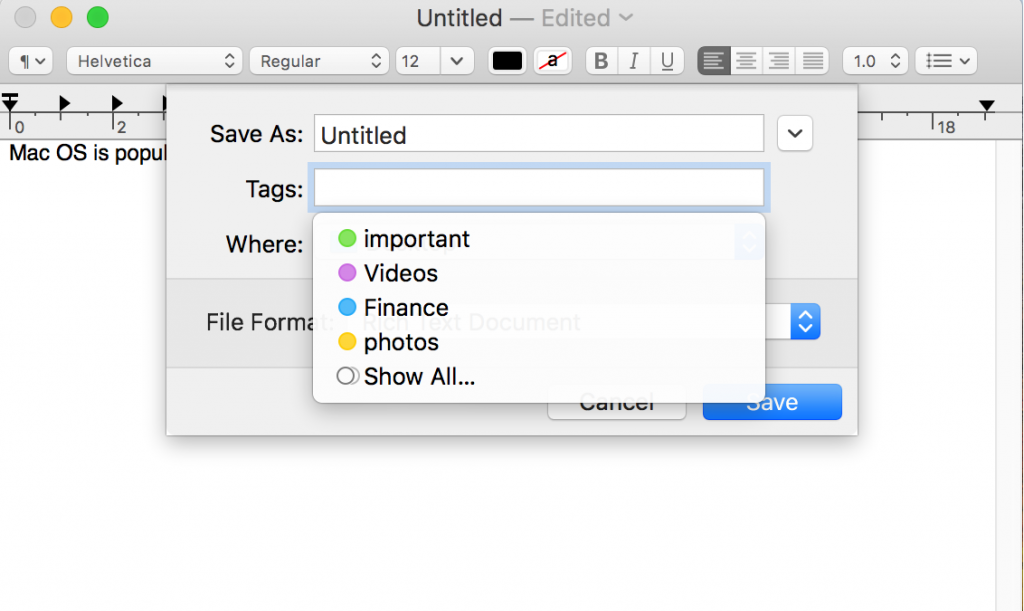
Tagging a file
Tagging a file when save it, is much easier and simple. This makes file searching and organizing easy.
To add a tag while saving a file follow the steps below:
- Create a file then click on File > Save, or File > Export.
- Next in the new window that appears under Tags name it or select from the list of already created tags. Besides, this you can even add multiple tags or can click on Show All to see all the created tags and can add them.
- To remove a tag from the saved file, click on the existing tag field and press the Delete key.
Note: All old and new tags are visible under Finder.
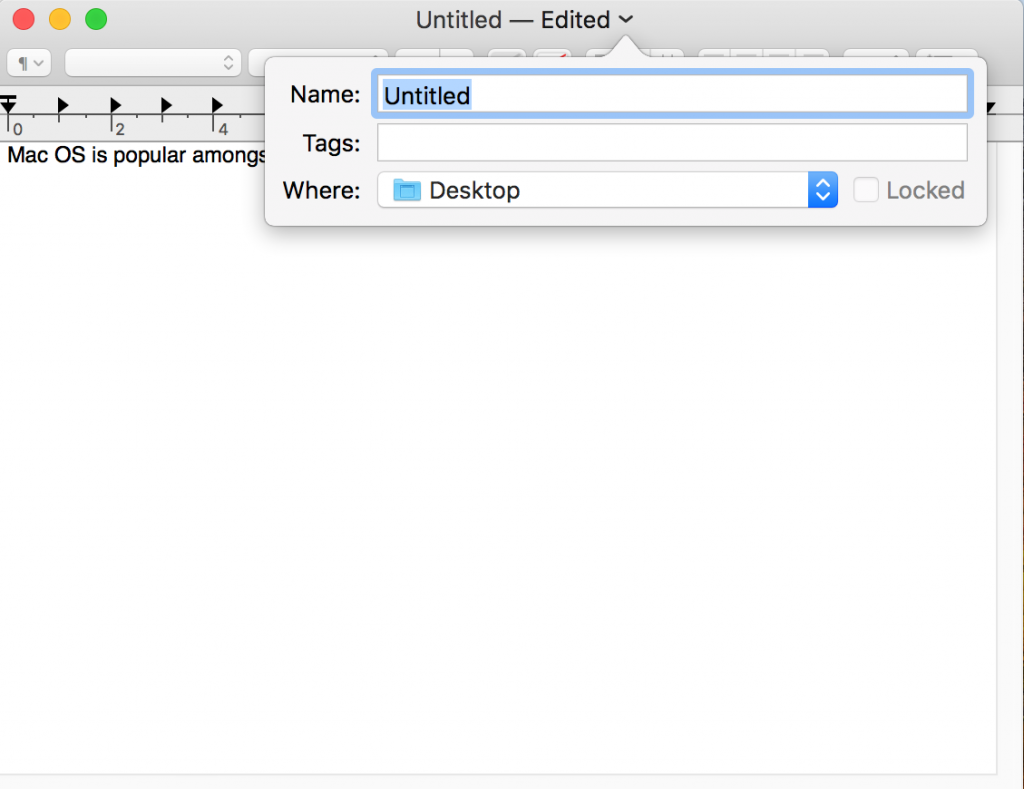
Tagging from the Document menu
Mac OS has a document menu using which you can update file’s name and other properties – including Tags.
To do so, take mouse cursor over documents name and then click menu button, from here you can add and edit tags.
Tagging in iCloud
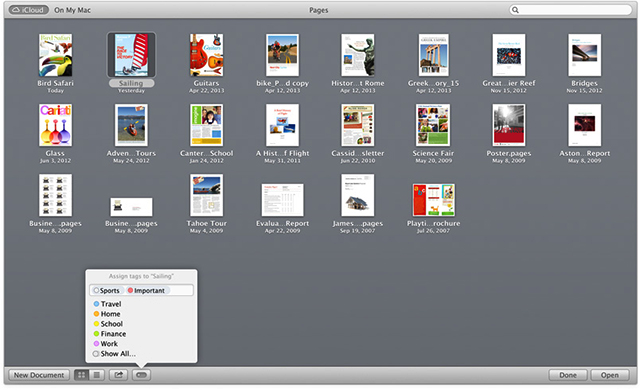
You can add tag to files stored on iCloud. To do so follow the steps below:
Select the file you want to tag and then click on the tag option as shown in the screenshot below to add tags.
Setting Tags preferences
To set tag preference you need to go to the Finder > Preferences.
In the Finder Preferences window, click the Tags button.
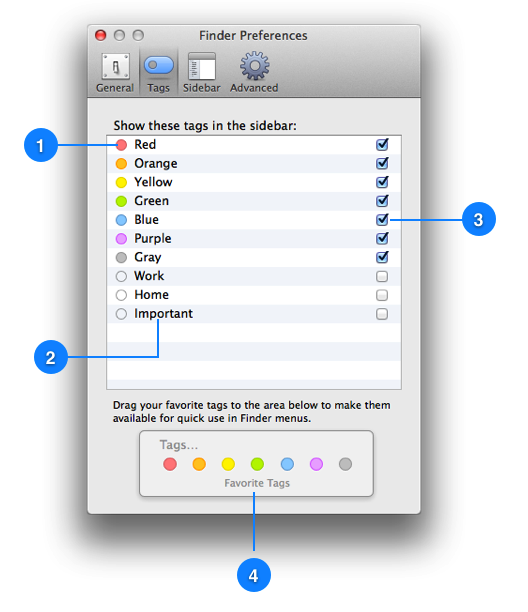
Now, from here you can Tag dot, each dot specifies a tag.
These simple steps will help you organize, search and tag your important documents. Once you have tagged them no longer you need to worry about losing them. Also by adding multiple tags to a file/folder you can classify if the documents are required for various purpose.
Hope you like the article, we will appreciate your feedback. If there is anything else you would like us to add please let us know.