
Organizing your music, movies, TV shows and other media is definitely not easy. But iTunes can help you with its powerful features. You can easily build your collection and can decide what music you want hear.
With iTunes you can manually build playlists, specify criteria while creating the list – tracks from the ’90s four or five stars rated tracks and much more. You can even save the list.
Here’s how to get around in iTunes and find its essential features.
Must Read How to delete or move back up of your iPhone from iTunes
1. Buy a track or album
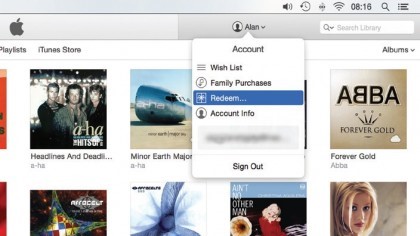
To buy a track you need to be signed-in to iTunes Store. To do that, simply click Sign-In (located left of the search bar) and provide your Apple ID details.
You need to have a bank, credit or an iTunes gift card added to your account. Now, find an item you want, click its price and enter your password to buy it.
2. Monitor downloads
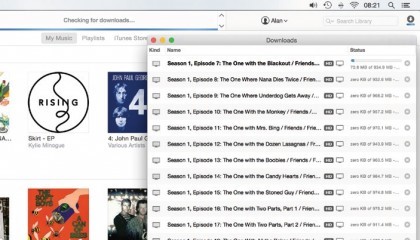
Usually we do not monitor music downloads as they take less time as compared to video, which can take a while.
To monitor the progress and to pause download, click the button to the right of the search bar and to change the download order drag items up and down in the queue.
3. Automatic downloads
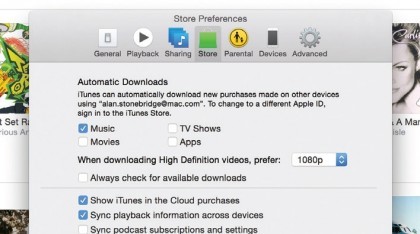
After purchasing a media, you can download it automatically to your Mac. To do so, go to iTunes > Preferences and click Store in the new window to choose which of the media you wish to download.
In iOS, you can download it by going to Settings > iTunes & App Store, from here select and make choices from the purchases made on your Mac.
4. Set up CD import
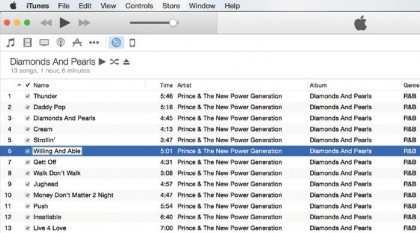
Insert an audio CD in your system’s internal or external CD drive and iTunes will look up track names online. If they can’t be found, or you want to make changes, click once on a row to select it, and again on a detail to edit it – or right-click and choose Get Info to edit all details.
5. Import a CD
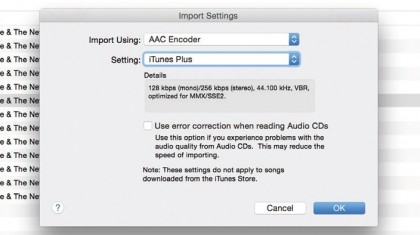
If the CD’s details aren’t found online, click Options and submit your details.
Click Import CD and choose a format and quality tracks from the iTunes Store to import. Now click OK to import the CD.
6. Other digital music
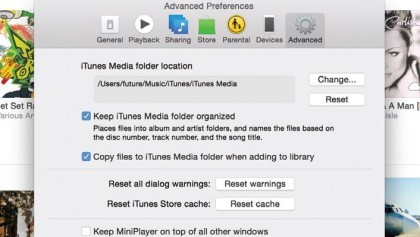
AAC and MP3 files from other stores with no copy protection can be imported by dragging and dropping them onto the iTunes icon in the Dock.
They’ll then be copied to your library folder, provided the respective box is ticked in iTunes > Preferences > Advanced.
7. Search your library
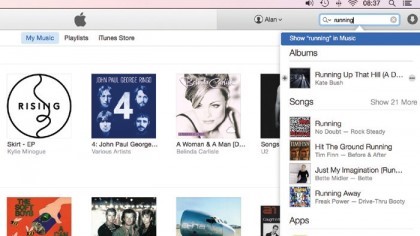
To search a file in your library, click and type in the search bar, results will be listed by kind. Click on them to view it, or double-click to play it.
Once you click the magnifying glass and untick Search Entire Library; you will be able to see filtered results in the main window as you type.
8. Make a playlist
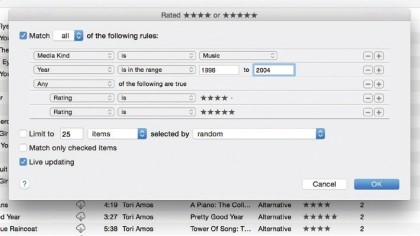
To create a playlist, choose File > New > Playlist.
Now to add the track to the list, right-click a track and choose Add to Playlist, or drag it and then drop it onto a playlist in the panel that slides in.
9. Choose what plays next
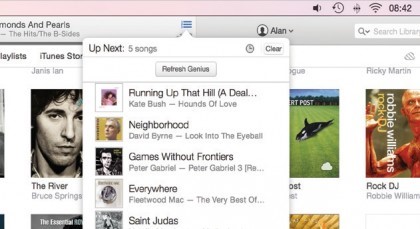
To see what’s up next, click the icon at the right of the playback monitor. To add a track, right click it and select Add to Up Next or, drag and drop a track or several onto the playback monitor to add them to Up Next.
10. Genius Playlists
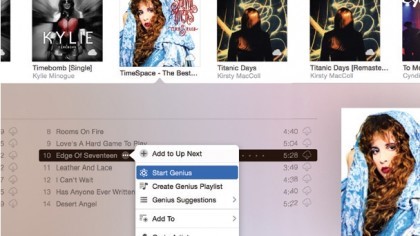
To send details of your listening habits to Apple, choose Store > Turn on Genius. It uses details received from millions of people to create Genius Playlists.
To listen to the data received, right click a track and choose Start Genius.
11. Genius Mixes

You can also create genre themed mixed with the Genius data. To do so, select the Playlists view, and choose Genius Mixes. Move the pointer over a mix and double-click to play it.
To rename it, click a mix’s name once. To remove it, right-click a mix to look and select the option.
12. The MiniPlayer
To switch from the large music window to MiniPlayer, click the current track’s artwork in the playback monitor.
To search for artists, albums and songs press Command + F and type, and then add things to Up Next by clicking the + at their left side.
13. Copy media to your device
To copy media, connect your iPod or iOS device and click its icon in iTunes. After doing so, in the sidebar you will be able to see it. Now, click a category and choose what to copy. Click the Apply button, then Sync.
You can even manage the media manually, to do so under Summary > choose to manually manage media > then drag items and drop them onto your device.
14. iTunes Match
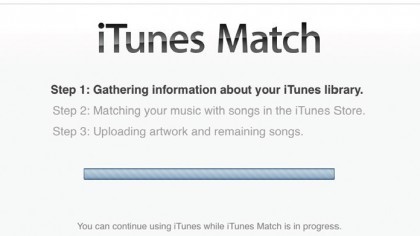
It matches music in your library with items in the iTunes Store and makes them available on all your devices.
If a track can’t be found in the store, then your original will be shared. To do so, choose Store > Turn On iTunes Match.
15. Home Sharing

Home Sharing enables media from your library to be shared with up to four Macs and iOS devices over your network.
To enable it, on Mac, choose File > Home Sharing > Turn On… and enter your Apple ID.
To enable it, on iOS, go to Settings > Music and enter your Apple ID details.
16. Family Sharing

You can share payment methods and other purchased with a group of up to six Apple IDs. The family organizer allows you to approve a child’s purchase requests.
From a Mac sign into the iCloud account which acts as the organizer, go to System Preferences > iCloud > Set Up Family.
17. Listen to Beats 1 radio station
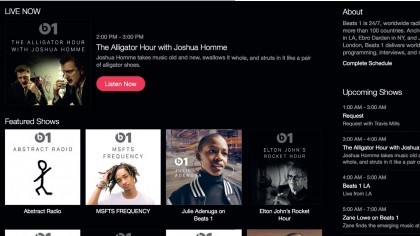
Click the Music view and then Radio near the top of the window. The centerpiece of iTunes’ radio features is Beats 1, you don’t need an Apple Music subscription to tune in.
Click the Listen Now button to hear it. To see what’s playing now click anywhere else on the Beats 1 banner,
To see upcoming guest presenters, click Complete Schedule and scroll down.
18. Connect with artists

The Connect page is a place for you to read, watch and listen to updates from your favorite artists. You’ll be able to follow artists whose music you bought from Apple, when you set up Apple Music,
To change who you follow, click the silhouette-like icon to the right of the status area, then Following.
Artists are also followed when you add music from Apple’s library to yours. To prevent this, click your name in the same menu and switch off Automatically Follow Artists.