If you take a close look at the Windows journey, it’s quintessential of various success stories. Windows is undoubtedly one of the most popular operating system, used by millions of users around the globe. Over time and years, Windows is and will always be a crucial part of our lives.
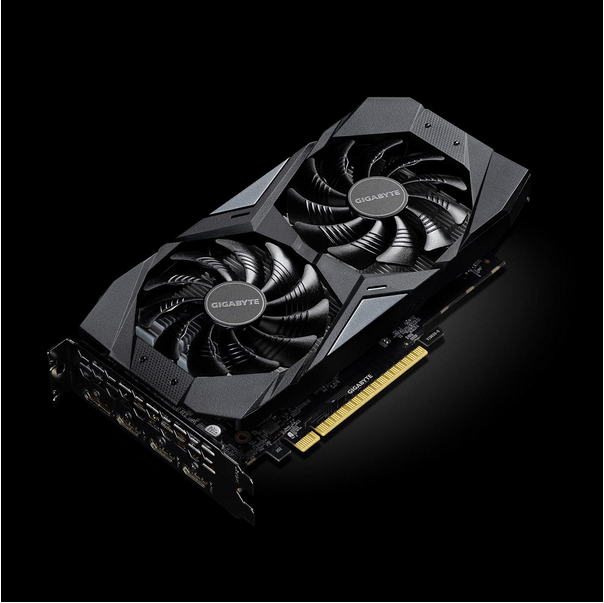
As we’re all aware, our Windows machine is made up of hundreds and thousands of hardware and software components. And GPU is one of them. GPU is the Graphics Processing Unit that is dedicated circuit installed on our system that takes care of all graphical operations, primarily intended for delivering output through a display device.

But yes, most of the people still don’t have a zilch idea about what kind of graphic card is installed on their device. So, is there any quick way to know about the current graphic configuration of your Windows 10 PC or laptop. Yes, of course! Here’s a quick guide on how to check Graphic card configuration of your Windows 10 machine, to know it better.
Let’s get started.
Why Do You Need a Graphics Card
Before we proceed, first let’s understand why a Graphics Card is essential and what role does it play in your system’s functioning. A Graphics card is one of the most vital elements in a system. So, when exactly do you realize the importance of a Graphics Card in any machine? Well, ask the hard-core gamers about this as they can answer this question better.

Without a Graphics Card, your Windows PC or laptop will not be able to run smooth graphics or function properly. While using budgeted devices, you may have experienced a lot of graphics related issues when a specific game won’t load on your device. Similar issues may have occurred while using high-end photo or video editing software. Isn’t it?
So, if you don’t want your system to keep crashing while you’re working or professional editing software or while you’re playing games, make sure that your PC is installed with a strong, dedicated Graphics Card that doesn’t overkill your device when in use.
How to Check Graphic Card Configuration on Windows

Whenever you use any software or before installing games, there’s always a set of compatibility specifications that your machine needs to fulfill, right? Most of us still don’t have the slightest idea about our machine’s graphics configuration. Well, let’s not be a noob anymore and learn how to check Graphic Card configuration on your Windows PC or laptop.
Here you go!
Tap the Windows icon on the top-left corner of the screen and then type “Run” in the search box. Hit Enter.

In the Run window, type “dxdiag” in the text box and hit the “OK” button.

Doing so will load the DirectX Diagnostic Tool on your Windows PC that includes plenty of information about your machine’s graphics, motherboard specifications, memory, and more.
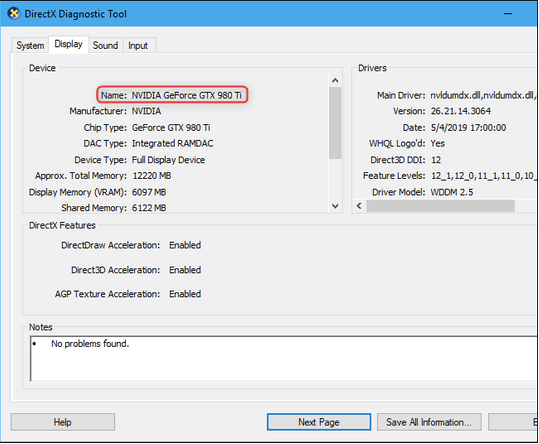
In the DirectX Diagnostic Tool window, switch to the “Display” tab as we’re here to explore the current graphics configuration of our system.

The Display tab will offer you all the information you need, including the name of your installed Graphics card, manufacture, chip type, total memory, display memory (VRAM), and more.

Also, if your system is installed with more than one Graphic card, then you will see various tabs named Display 1, Display 2, and so on.

Tap on each tab to get an overview of the current graphics configuration of your Windows PC or laptop.
Also Read: Graphics Driver outdated? Here’s a step by step guide on how to update the Graphics Driver on a Windows 10 PC.
Conclusion
This wraps our guide on how to check Graphic Card specifications on Windows. Knowing about this piece of information will give you an extra edge to decide whether a particular software or game can run seamlessly on your system or not.
And, yes, next time when anyone asks you about the Graphic configuration of your machine, surprise them with a technical answer. Bang on!


 Subscribe Now & Never Miss The Latest Tech Updates!